DIY String Art: A Fun & Creative Wall Decor
Looking for a unique and eye-catching way to decorate your home? String art is the perfect project! It’s surprisingly easy to learn, incredibly rewarding, and allows for endless creative possibilities. This project is perfect for beginners wanting to dip their toes into the world of DIY home decor and craft projects.
What is String Art?
String art is exactly what it sounds like: art created using strings or threads stretched across nails or pins hammered into a wooden surface. The arrangement of the strings creates a beautiful, often geometric, design. It blends craft projects with a modern aesthetic, and it’s a fantastic way to personalize your space.
Materials You'll Need
- A wooden board (pine or plywood work well - approximately 12x16 inches is a good starting size)
- Small nails or pins (approximately 1 inch long)
- String or embroidery floss (various colors are fun!)
- A printed template (optional, but helpful for beginners)
- Pencil
- Hammer
- Scissors
Step-by-Step Tutorial
- Prepare Your Board: Lightly sand the wooden board if needed. If you’re using a printed template, tape it securely to the board.
- Create Your Outline: If using a template, use a pencil to trace the design onto the wood. If you’re freehanding your design, sketch it lightly with a pencil.
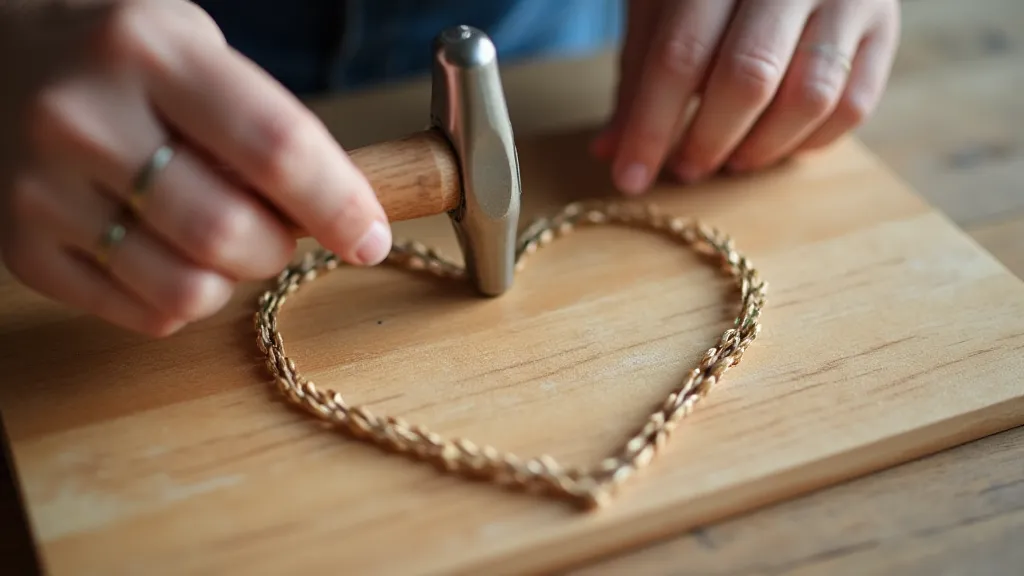
- Hammer in the Nails: Hammer nails into the wood along the outline of your design, spacing them about 1/2 to 1 inch apart. Make sure the nail heads are all at a consistent height.
- Start Stringing! This is where the magic happens! Start at one nail and wrap the string around it. Then, move to a neighboring nail, wrapping the string around it as well. Continue this process, creating a web of string across the design. Experiment with different wrapping techniques – some people prefer tight wraps, others like looser wraps.
- Fill in the Design: Continue stringing, connecting nail to nail, until your design is filled in. Pay attention to the tension of the string as you go; too tight, and the wood will warp; too loose, and the design will look sloppy.
- Finishing Touches: Once you’re happy with the string arrangement, trim any excess string and tie off securely.
Tips & Tricks for Beginners
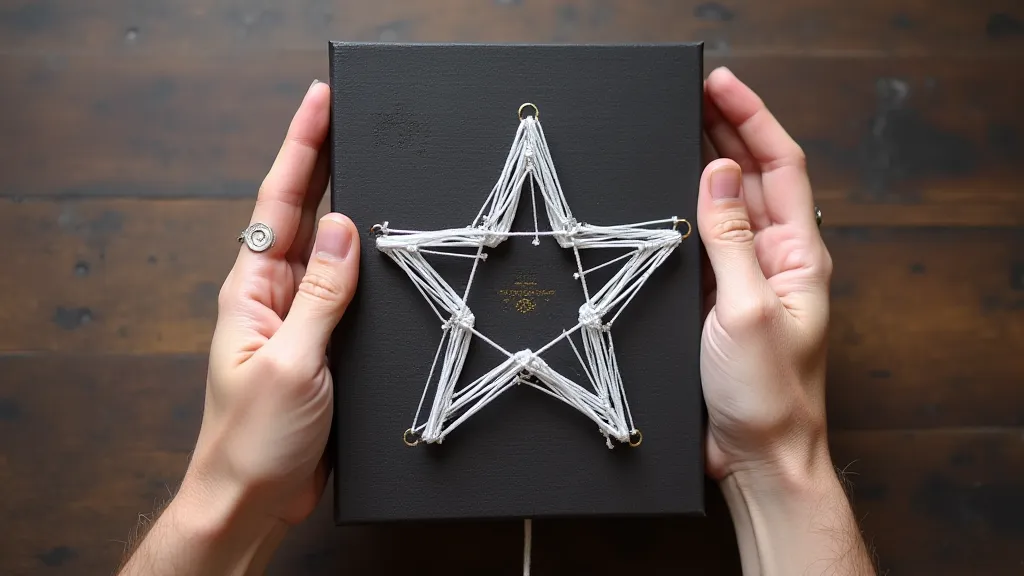
- Start Simple: Begin with a basic shape like a heart, star, or geometric pattern.
- Use a Template: Templates are your friend! They take the guesswork out of nailing and stringing. You can find tons of free templates online.
- Experiment with Colors: Don’t be afraid to mix and match string colors for a unique and vibrant look.
- Vary String Thickness: Using different thicknesses of string can add visual interest to your design.
- Secure Your String: Make sure your string is securely tied off at the end to prevent it from unraveling.
Beyond the Basics
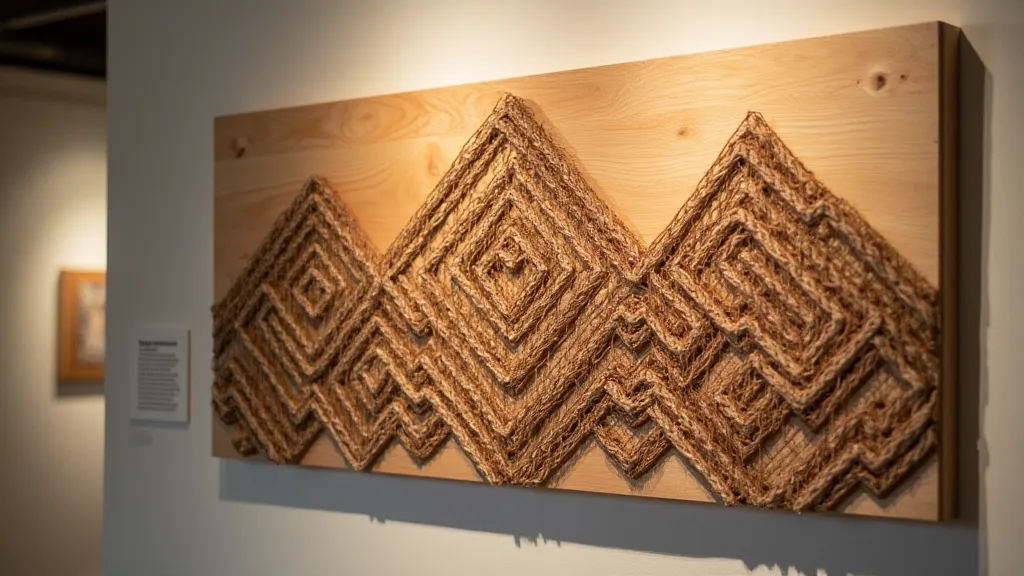
Once you’re comfortable with the basics, you can get really creative! Try creating more complex designs, using multiple string colors, or even incorporating beads or other embellishments into your string art.
String art is a fantastic way to add personality and charm to any room. So gather your materials, unleash your creativity, and start stringing!