DIY Coasters: Protect Your Furniture in Style
Protecting your furniture from water rings and spills is essential, but it doesn’t have to be boring! Creating your own DIY coasters is a simple and satisfying craft project that adds a personal touch to any home. This tutorial is perfect for beginners and offers plenty of room for creativity. Let's get started!
Materials You’ll Need
- Base Material: Choose your coaster base! Options include:
- Square or Round Tiles (4x4 inch or similar)
- Wooden Slices (various sizes)
- Cork Rounds
- Cardboard (for a very budget-friendly option)
- Decorative Materials (Choose your style!)
- Paint (Acrylic, Chalk Paint, or even spray paint)
- Mod Podge or other sealant
- Fabric Scraps
- Buttons, beads, or other embellishments
- Resin and pigments (for a more advanced technique – see variations below!)
- Tools:
- Scissors
- Paintbrushes
- Pencil
- Ruler
- Felt or cork for the bottom (to prevent scratching)
- Strong adhesive (like E6000 or hot glue)
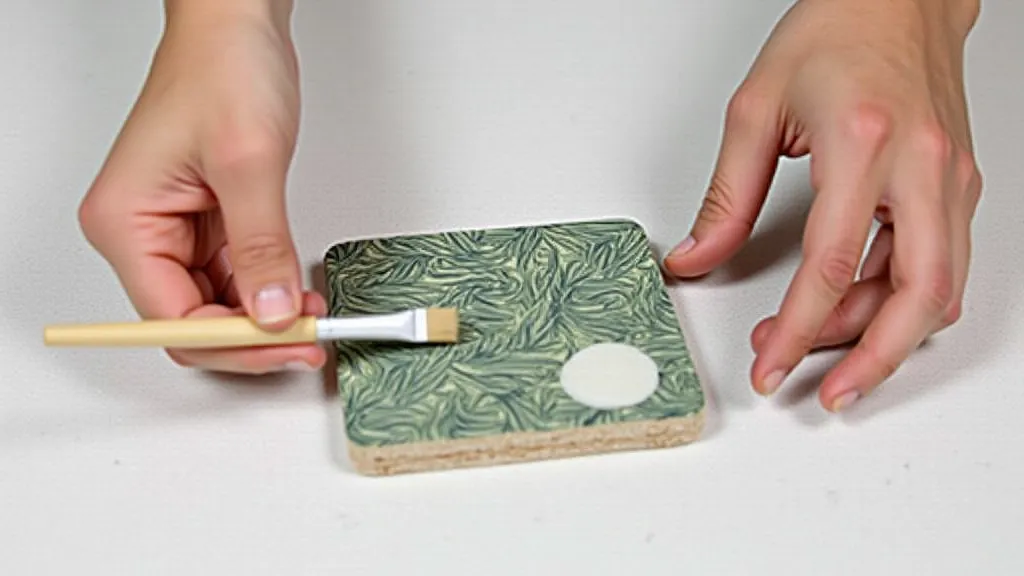
Step-by-Step Tutorial – Tile Coasters
We’re using tile coasters for this example, but the general process applies to other bases. This is a great starting point for beginners!
- Prepare the Tiles: Clean your tiles thoroughly with soap and water. Let them dry completely.
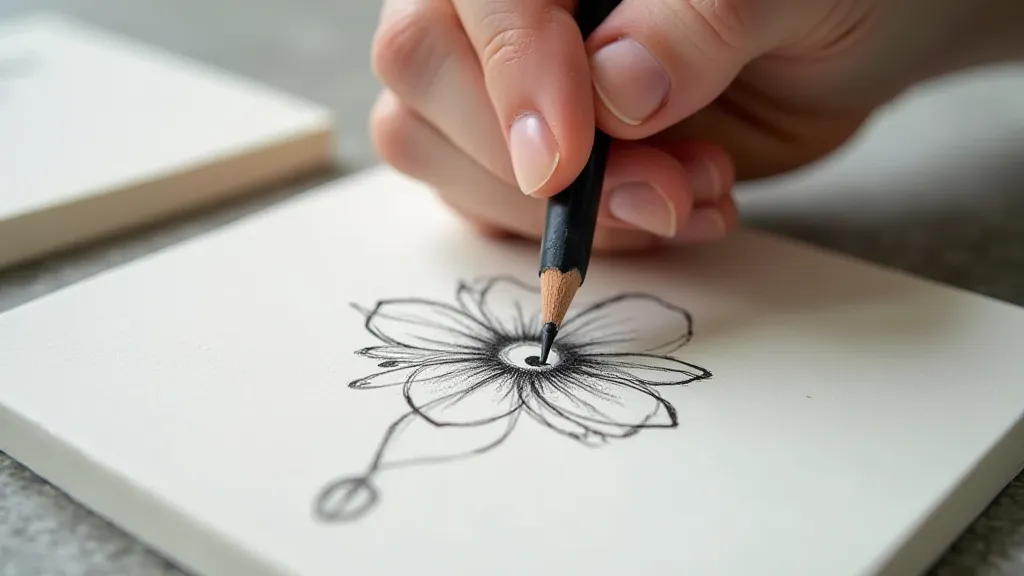
- Design Your Coaster: Sketch out your design on the tile with a pencil. Keep it simple if you're new to painting. You can paint a pattern, write a quote, or create an abstract design.
- Paint Your Design: Using acrylic paints, carefully paint your design. Let each layer dry completely before adding more. Multiple thin layers are better than one thick layer to avoid cracking.
- Seal the Design: Once the paint is completely dry, apply several coats of Mod Podge or a similar sealant. This protects your design from water and wear. Let each coat dry completely.
- Add a Base (Prevent Scratching): Cut pieces of felt or cork to fit the bottom of your coasters. Adhere them to the bottom using strong adhesive.
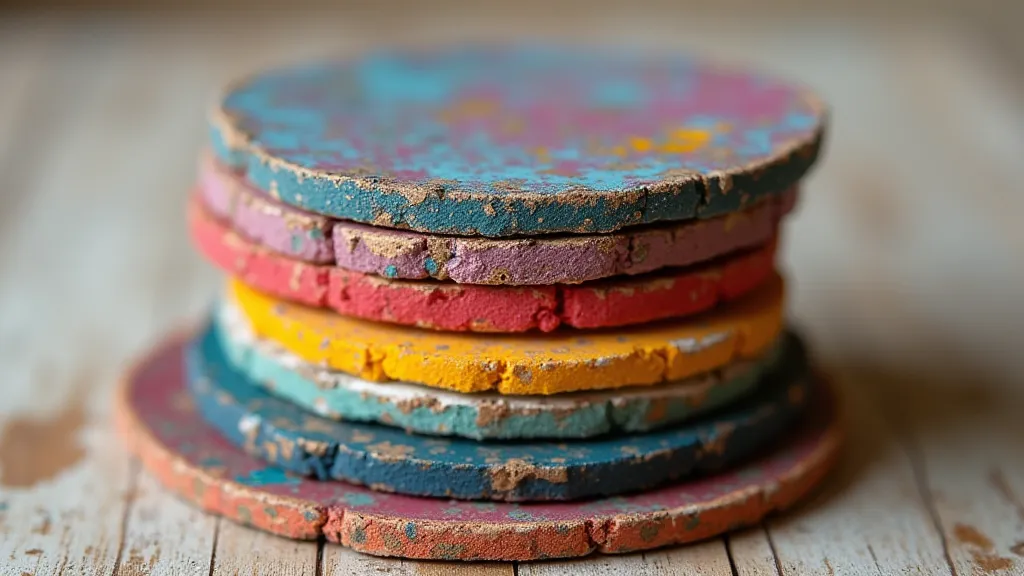
Variations & Creative Ideas
- Wooden Slice Coasters: Sand the wooden slices smooth. You can paint them, decoupage them with patterned paper, or even use wood burning techniques.
- Resin Coasters: For a more advanced project, use epoxy resin to create stunning, glossy coasters. Embed dried flowers, glitter, or other small objects in the resin for a unique look. *Note: Resin projects require careful ventilation and safety precautions.*
- Fabric Coasters: Wrap fabric scraps around cardboard coasters and secure with Mod Podge.
- Personalized Gifts: These coasters make fantastic handmade gifts! Customize them with initials, dates, or inside jokes.
Tips for Beginners
- Practice on Scrap Materials: Before committing to your final coaster base, test your designs and techniques on scrap pieces.
- Don’t Be Afraid to Experiment: Crafting is about having fun! Try different materials, colors, and patterns to create unique coasters.
- Allow Plenty of Drying Time: Rushing the drying process can lead to smudging or cracking.
Now, go forth and create beautiful, functional coasters that protect your furniture and add personality to your home! Happy crafting!