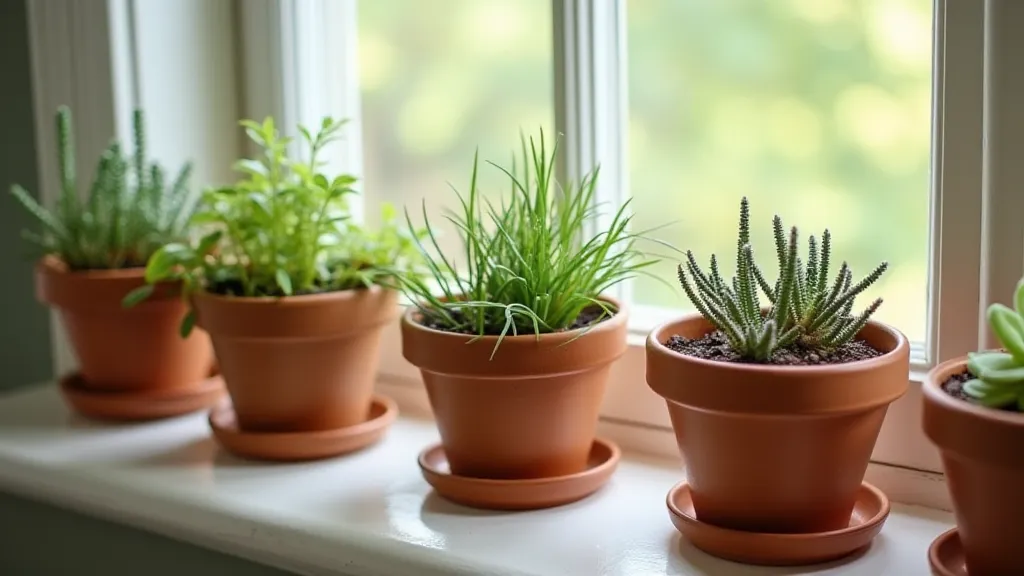
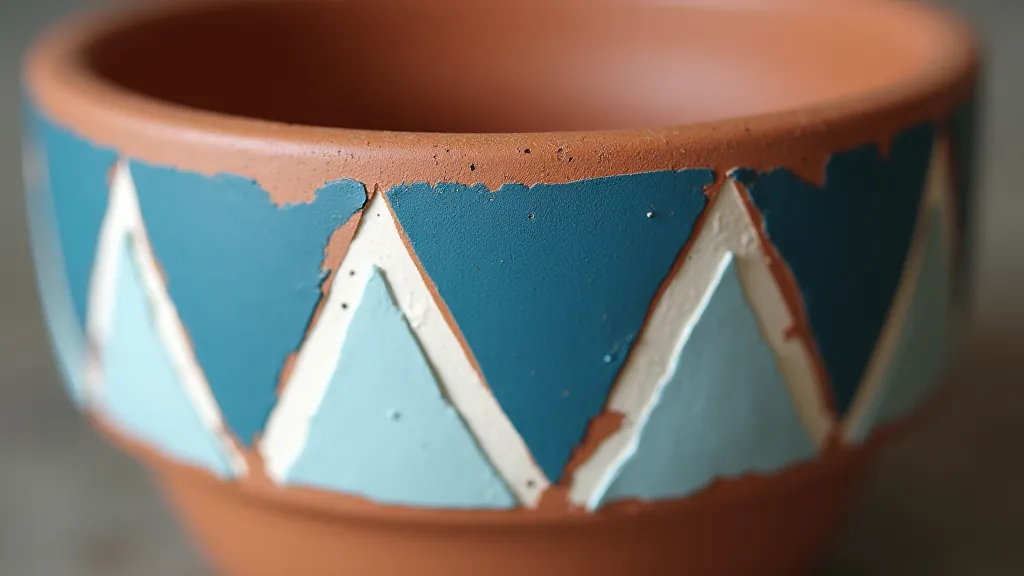
DIY Painted Terra Cotta Pots with Geometric Patterns
Bring a touch of modern flair to your indoor or outdoor space with these stunning DIY painted terra cotta pots! This project is surprisingly easy, perfect for beginners, and a fantastic way to personalize your home decor. We’re using simple geometric patterns to create a visual upgrade that’s both stylish and budget-friendly. Get ready to unleash your creativity!
What You'll Need
- Terra cotta pots (various sizes – however many you want to decorate!)
- Acrylic paints in your desired colors (we recommend 2-3 colors for a balanced look)
- Paintbrushes (a variety of sizes, including a small detail brush)
- Pencil
- Ruler
- Painter's tape (optional, for crisp lines)
- Clear sealant (optional, for outdoor pots)

Step-by-Step Instructions
- Prepare Your Pots: Clean your terra cotta pots with a damp cloth to remove any dust or debris. Let them dry completely.
- Plan Your Design: This is where your creativity comes in! Sketch out your geometric design on the pot with a pencil. Common patterns include triangles, diamonds, stripes, and chevrons. If you want perfectly straight lines, use a ruler and painter's tape to mask off sections.
- Base Coat (Optional): If you’re using dark colors over a light pot, consider applying a base coat of white or a light neutral color to help the colors pop. Let it dry completely.
- Paint Your Pattern: Carefully paint your geometric pattern using your chosen acrylic paints. If using painter’s tape, ensure it’s firmly adhered to prevent paint bleed. Let each color dry completely before applying the next.
- Remove Tape (If Used): Gently peel off the painter’s tape while the paint is still slightly tacky. This will help prevent chipping.
- Let it Dry: Allow the painted pots to dry completely.
- Seal (Optional): For outdoor pots, apply a clear sealant to protect the paint from the elements.
Tips and Variations
- Color Combinations: Experiment with different color palettes! Neutrals like gray, white, and gold create a sophisticated look, while brighter colors add a playful vibe.
- Mix and Match Patterns: Don’t be afraid to combine different geometric patterns on the same pot.
- Add Texture: Consider using textured paints or adding small embellishments to your pots for added dimension.
- Personalize with Names: Add names or initials to create unique gifts.
- Smaller Scale: This project also works wonderfully on smaller planters or even just the bottoms of larger pots.
This DIY project is a fantastic way to add personality and style to your home. It's a relatively quick and easy craft project that yields beautiful and functional decor. So gather your supplies and get creative! We can’t wait to see what you create!