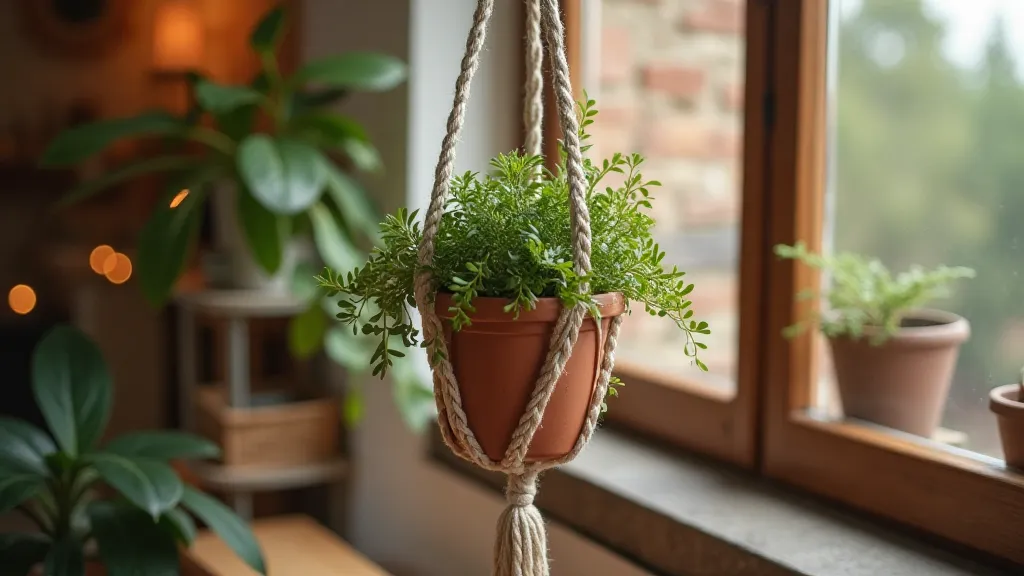
DIY Macrame Plant Hanger: A Stylish & Simple Home Decor Addition
Bring a touch of bohemian charm to your home with this easy-to-follow macrame plant hanger tutorial! Designed for beginners, this project breaks down the knotting process into simple steps. Learn the basic macrame knots and create a beautiful plant hanger to showcase your favorite greenery. Whether you’re a seasoned crafter or just starting your DIY journey, this project is perfect for adding a personalized and stylish touch to your living space.
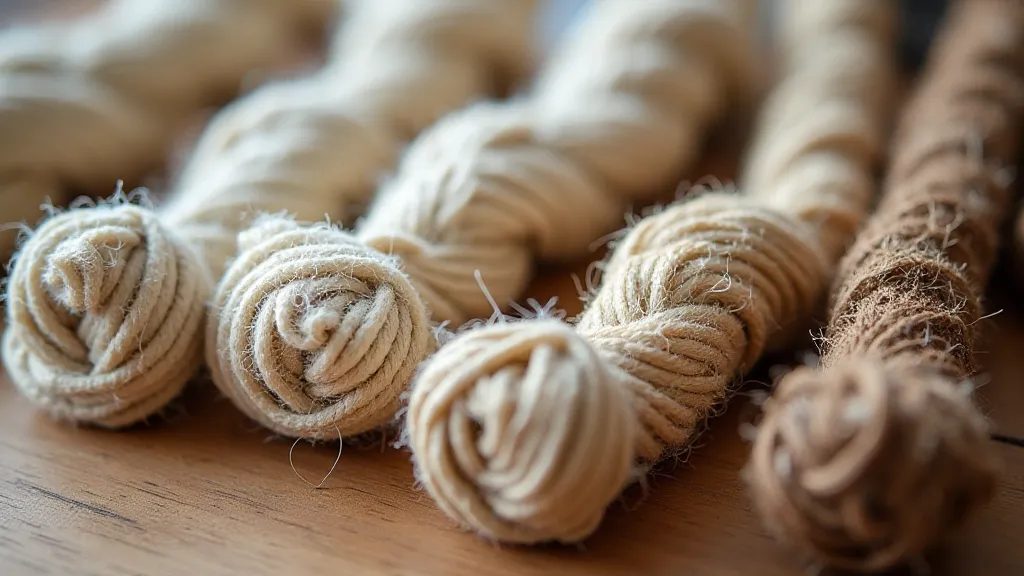
What You'll Need: Materials List
- Macrame Cord: Approximately 30-40 feet of 3mm or 5mm cotton cord. (Jute or hemp cord also works!)
- Scissors
- Measuring Tape or Ruler
- Wooden Ring: About 2-3 inches in diameter (for hanging)
- Plant Pot: (With your chosen plant – size will influence cord length)
Step-by-Step Instructions: Your Guide to Knotting
- Cut the Cord: Begin by cutting four lengths of cord, each approximately 8-10 feet long. The length will depend on the size of your pot and how long you want the hanger to be.
- Gather & Fold: Gather all four cords together and fold them in half, creating a loop at the top.
- Attach to Ring: Place the loop over the wooden ring and pull the cords through to secure them. This is your anchor point.
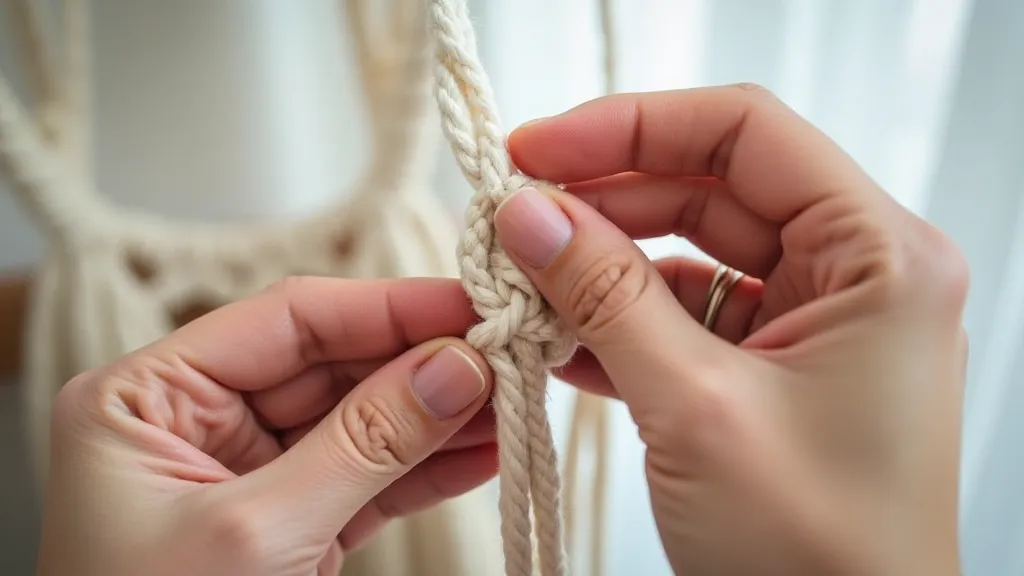
- The Square Knot: This is the core knot for this project. Here's how to do it:
- Take the left cord and bring it over the two center cords.
- Take the right cord and bring it under the center cords and over the left cord.
- Pull the right cord tight.
- Repeat the process, starting with the right cord going over the center cords.
- First Set of Knots: Create a series of square knots about 3-4 inches below the ring. You'll be working with two cords at a time, so you’ll have a total of eight cords involved in this section.
- Spacing & Second Set: Space the next set of knots about 5-6 inches below the previous set. Continue making square knots, consistently tightening them.
- Pot Placement: Now, carefully place your plant pot into the developing macrame hanger. Adjust the knots to ensure the pot sits securely.
- Final Knots & Adjustments: Create a final set of square knots below the pot, forming a cradle for the pot to rest in. Make sure the hanger is balanced. You can add more knots or adjust the existing ones to achieve the desired look.
- Finishing Touches: Trim the excess cord at the bottom, creating a neat and even fringe. You can leave the fringe long or trim it shorter, depending on your preference.
Tips for Beginners
- Practice the Square Knot: Before starting the project, practice the square knot a few times to get the hang of it.
- Consistent Tension: Maintain consistent tension while knotting to ensure a neat and uniform appearance.
- Don't Be Afraid to Adjust: Macrame is forgiving! If something doesn't look quite right, simply loosen the knots and adjust.
- Watch Videos: If you're struggling with any of the steps, search for macrame tutorials on YouTube. Seeing the process visually can be incredibly helpful.