DIY Key Holder: Organize Your Entranceway
A cluttered entryway can be a source of daily stress. Losing your keys is frustrating, and piles of mail and odds and ends can make a bad first impression. This simple DIY key holder project is a fantastic solution, adding both organization and charm to your entranceway. It's a beginner-friendly craft, requiring minimal supplies and yielding a beautiful, personalized addition to your home.
What You’ll Need
- A piece of reclaimed wood (approximately 24" x 10" - adjust size to your preference)
- 3-5 Key hooks (metal or ceramic - your choice of style!)
- Screws appropriate for the key hooks and wood thickness
- Drill
- Screwdriver
- Sandpaper (various grits – 120, 180, 220)
- Wood stain or paint (optional – for finishing the wood)
- Paintbrushes (if staining or painting)
- Measuring tape
- Pencil
Step-by-Step Instructions
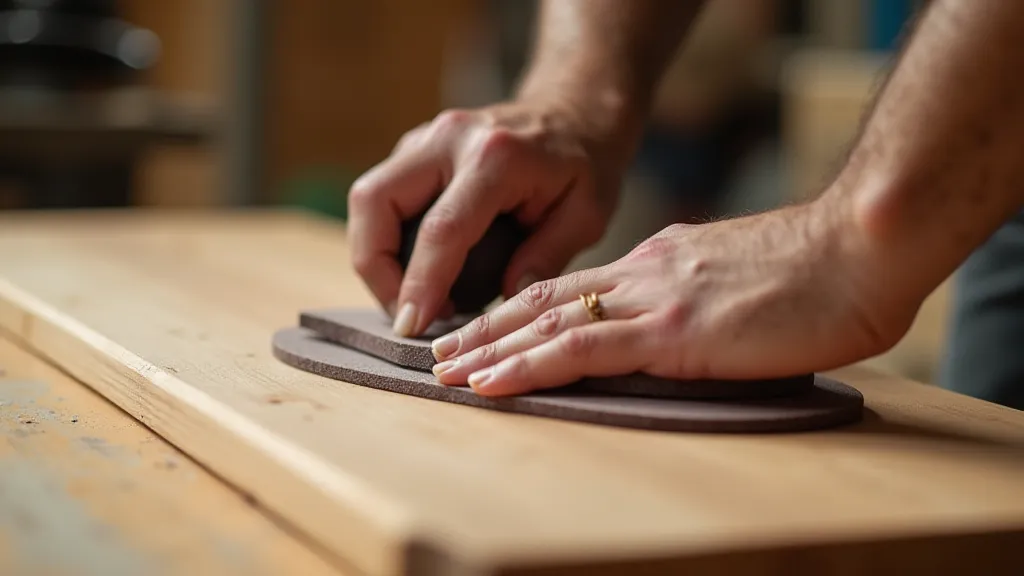
Step 1: Prepare the Wood
Start by sanding the reclaimed wood piece. Begin with a coarser grit (120) to smooth out any rough edges or imperfections. Follow up with medium (180) and then fine (220) grit sandpaper for a super smooth finish. Wipe away any sanding dust with a clean cloth.
Step 2: Finishing (Optional)
If you want to change the look of the wood, now’s the time to apply a stain or paint. Follow the manufacturer's instructions for application and drying times. Multiple thin coats are generally better than one thick coat for a smoother, more even finish.
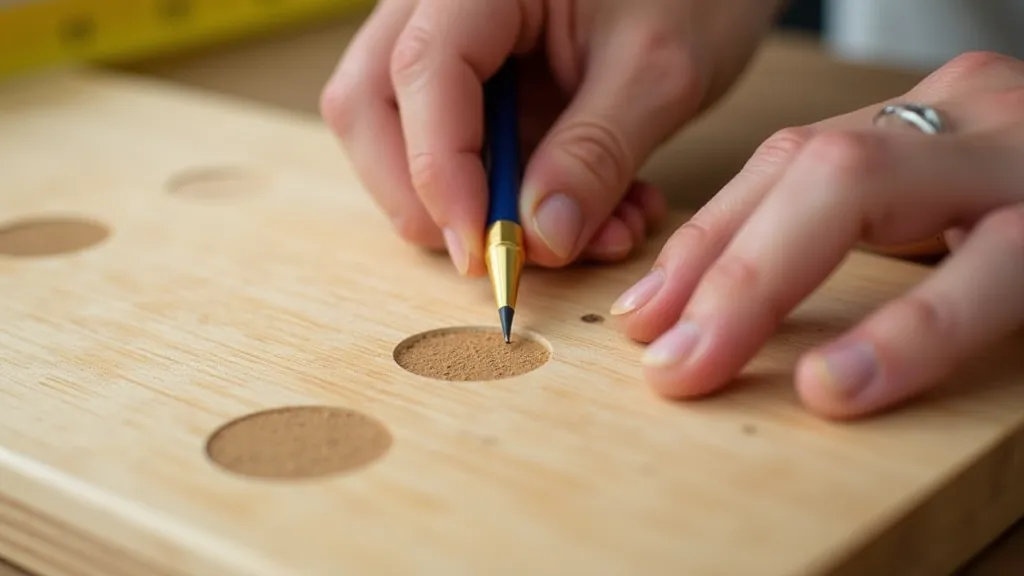
Step 3: Mark Key Hook Placement
Using a measuring tape and pencil, decide where you want to position your key hooks. Typically, they’re spaced evenly across the wood, allowing enough room for multiple keys. Use the measuring tape to mark the placement of each hook – a consistent spacing makes the final product look more polished.
Step 4: Install the Key Hooks
Carefully drill pilot holes at the marked spots. This makes screwing in the hooks much easier and prevents the wood from splitting. Using a screwdriver, securely fasten the key hooks into the pilot holes.
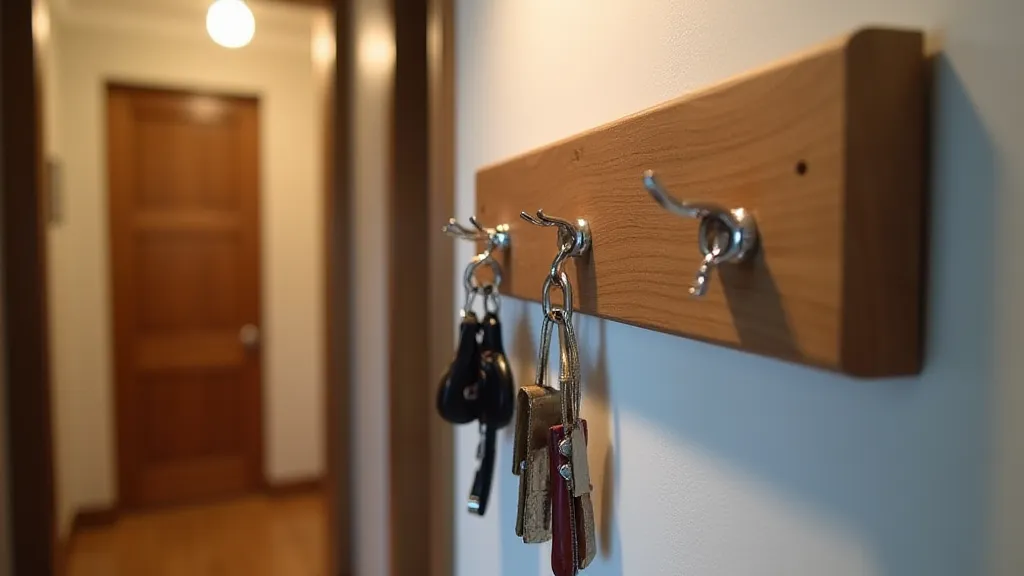
Step 5: Hang Your Key Holder
Now your key holder is ready to be hung! You can attach it to the wall using picture-hanging hardware appropriate for the weight of the wood and hooks. Ensure it’s securely mounted to prevent it from falling.
Tips & Variations
- Personalize It: Add stencils, paint designs, or even a small shelf to your key holder to make it truly unique.
- Wood Choice: Experiment with different types of wood – pallet wood, pine, or even a salvaged door can create a rustic charm.
- Hook Styles: Don't be afraid to mix and match hook styles for a more eclectic look!
Conclusion
This DIY key holder is a simple yet impactful project that will add organization and style to your entranceway. It's a fantastic way to use your creativity and add a personalized touch to your home decor. Enjoy your newly organized space!