DIY Candles: A Beginner's Guide to Homemade Scents
There's something undeniably comforting about the warm glow and inviting scent of a candle. But did you know you can create your own custom-scented candles at home? It's easier than you think! This beginner's guide will walk you through the basics, from choosing the right wax to selecting your favorite fragrances. Let's get started!
What You'll Need
- Wax: Soy wax, beeswax, or paraffin wax are popular choices. Soy wax is a great eco-friendly option and burns cleanly. Beeswax has a natural honey scent and a longer burn time. Paraffin wax is widely available and offers good fragrance throw.
- Wicks: Choose the right wick size based on the diameter of your container and the type of wax you’re using.
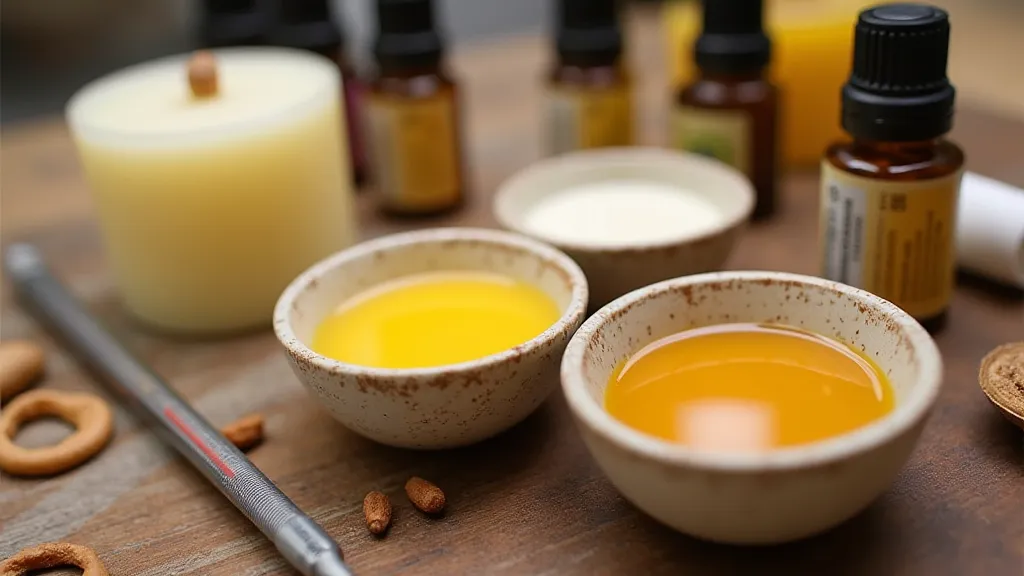
- Fragrance Oils or Essential Oils: Select scents you love! Start with a small amount (around 5-10% fragrance load).
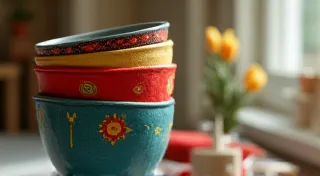
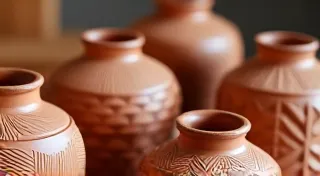
- Containers: Jars, tins, teacups – get creative! Ensure they are heat-resistant.
- Double Boiler or Heat-Safe Bowl & Pot: For melting the wax.
- Thermometer: To monitor wax temperature.
- Spoon or Stirring Stick: For mixing.
- Wick Stickers or Glue Dots: To secure the wicks.
Step-by-Step Instructions
- Prepare Your Workspace: Cover your work surface with newspaper or parchment paper.
- Secure the Wicks: Attach wick stickers or glue dots to the bottom of the wicks and center them in your containers. You can use clothespins or wick centering devices to keep them upright.
- Melt the Wax: Fill your double boiler with water and bring it to a gentle simmer. Add the wax to the top pot and heat until completely melted. Use a thermometer to monitor the temperature. Refer to your wax manufacturer’s instructions for specific melting points.
- Add Fragrance: Once the wax is melted and at the correct temperature, remove it from the heat and add your fragrance oil or essential oil. Stir gently but thoroughly for about two minutes to ensure the fragrance is evenly distributed.
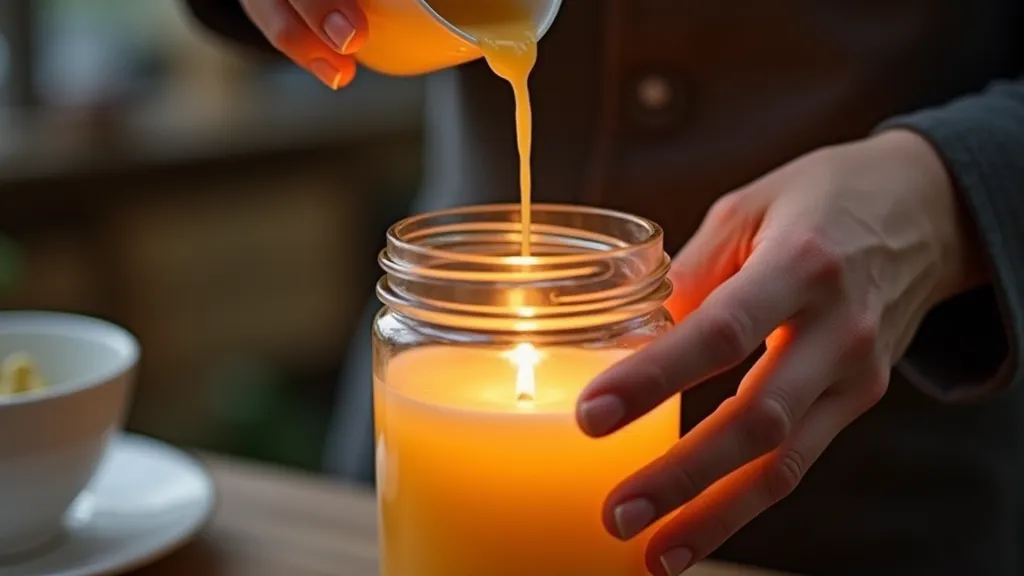
- Pour the Wax: Carefully pour the scented wax into your prepared containers, leaving a little space at the top.
- Cool and Cure: Let the candles cool completely at room temperature. This can take several hours or even overnight. Allowing the candles to "cure" for a few days to a week allows the fragrance to fully bind with the wax, resulting in a stronger scent throw.
Tips for Success
- Test Your Wick: Before making a large batch, test a single candle with your chosen wick and fragrance to ensure a good burn.
- Fragrance Load: Don’t overdo the fragrance! Too much can affect the burn quality and potentially be a fire hazard.
- Wax Temperature: Maintaining the correct wax temperature is crucial for a good fragrance throw and even burn.
- Safety First: Never leave melting wax unattended. Always work in a well-ventilated area.
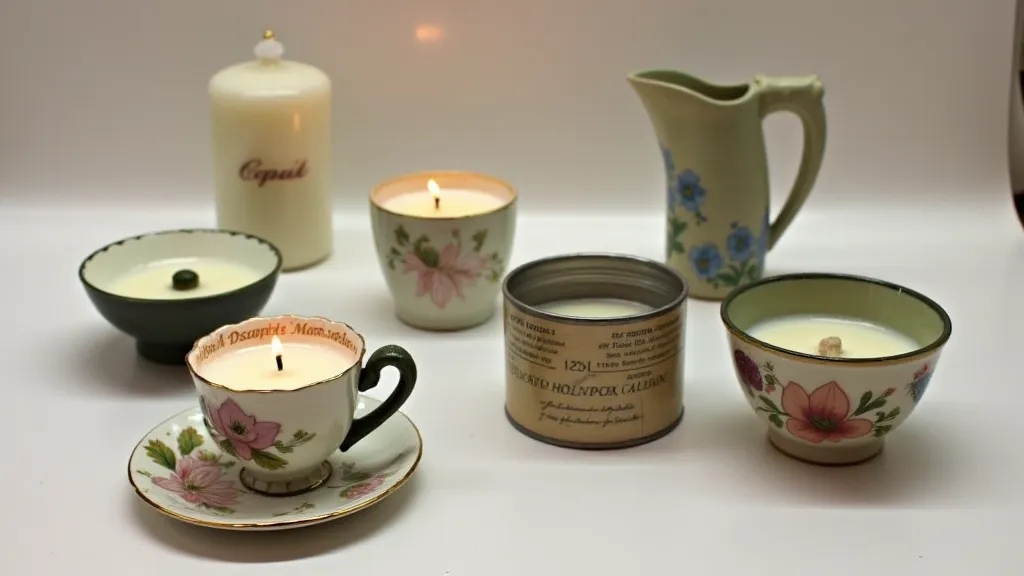
Creative Container Ideas
Beyond standard jars and tins, consider using vintage teacups, small bowls, or even hollowed-out seashells for unique and personalized candles. Just make sure the container is heat-safe and can withstand the heat of the burning candle.