DIY Painted Flower Pots: A Beginner's Guide
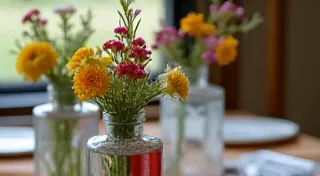
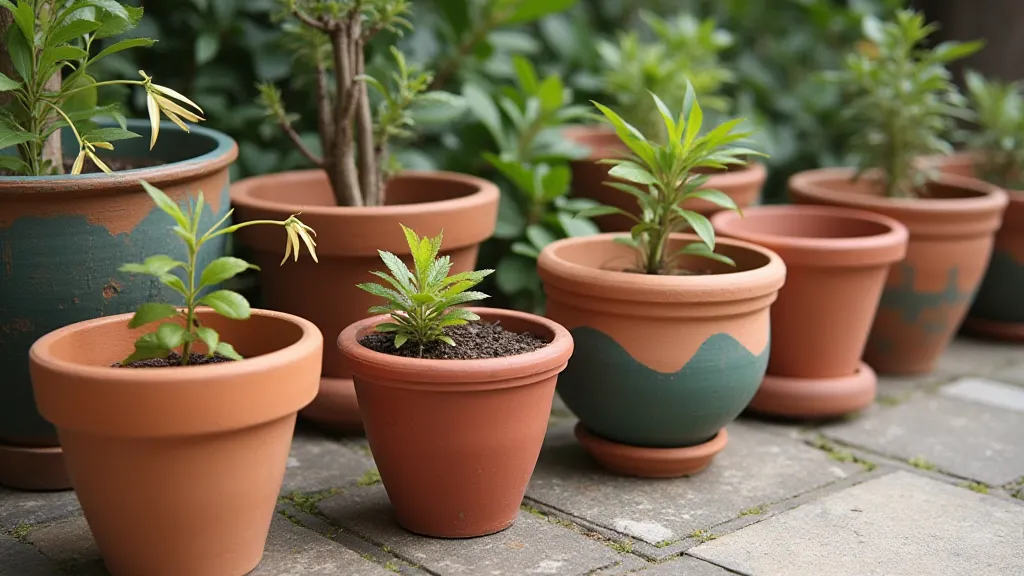
Brighten up your patio or add a pop of color to your indoor space with these easy painted flower pot ideas. Perfect for beginners, these tutorials cover different painting techniques and design styles.
Flower pots are a fantastic and inexpensive way to personalize your home and garden. No need to buy expensive, decorative planters when you can easily create your own unique designs! This guide will walk you through several techniques, even if you’re completely new to painting.
What You’ll Need
- Terracotta Flower Pots (any size, new or previously used - cleaned)
- Acrylic Paints (variety of colors)
- Paintbrushes (various sizes – flat, round, detail brushes)
- Primer (optional, but recommended for better paint adhesion)
- Clear Sealer (optional, for added protection and shine)
- Water Container
- Paper Towels
- Newspaper or Drop Cloth
Preparation is Key
Before you even think about painting, proper preparation is essential for a long-lasting and beautiful finish.
- Clean the Pots: Remove any dirt or debris from the terracotta pots. A simple scrub with soap and water will do.
- Prime (Optional): Applying a coat of primer helps the paint adhere better, especially on older pots that may have a waxy residue. Let the primer dry completely before painting.
- Protect Your Workspace: Lay down newspaper or a drop cloth to prevent spills and protect your surfaces.
Painting Techniques for Beginners
Let's explore some easy painting techniques that anyone can master!
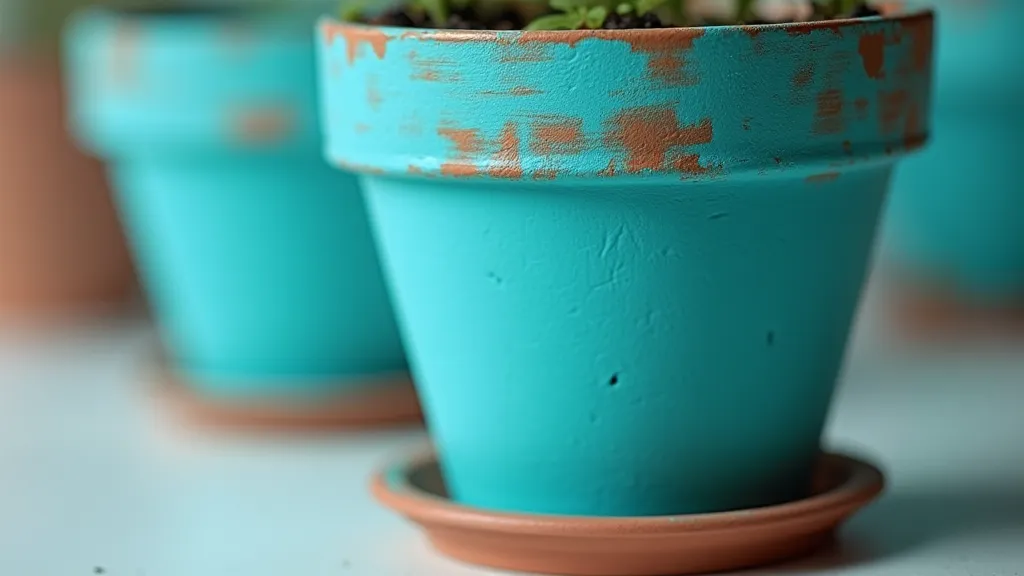
1. Solid Color Base
This is the simplest method and a great starting point. Choose a color you love and apply a few even coats, allowing each coat to dry completely before adding the next.
2. Simple Stripes
Stripes add a touch of modern flair. Use painter's tape to create crisp lines, paint the desired colors, and carefully peel off the tape while the paint is still slightly wet to prevent chipping.
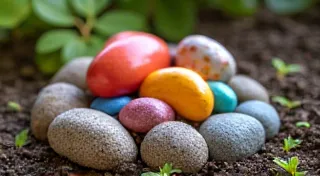
3. Dot Painting
Dot painting is a fun and forgiving technique. Use a rounded paintbrush or a cotton swab to create random or patterned dots of different colors. Don't worry about perfection – the imperfection is part of the charm!
4. Ombre Effect
Create a gradient effect by blending two or more colors together. Start with a darker shade at the bottom of the pot and gradually lighten it towards the top. This technique takes a little practice, but the result is stunning.
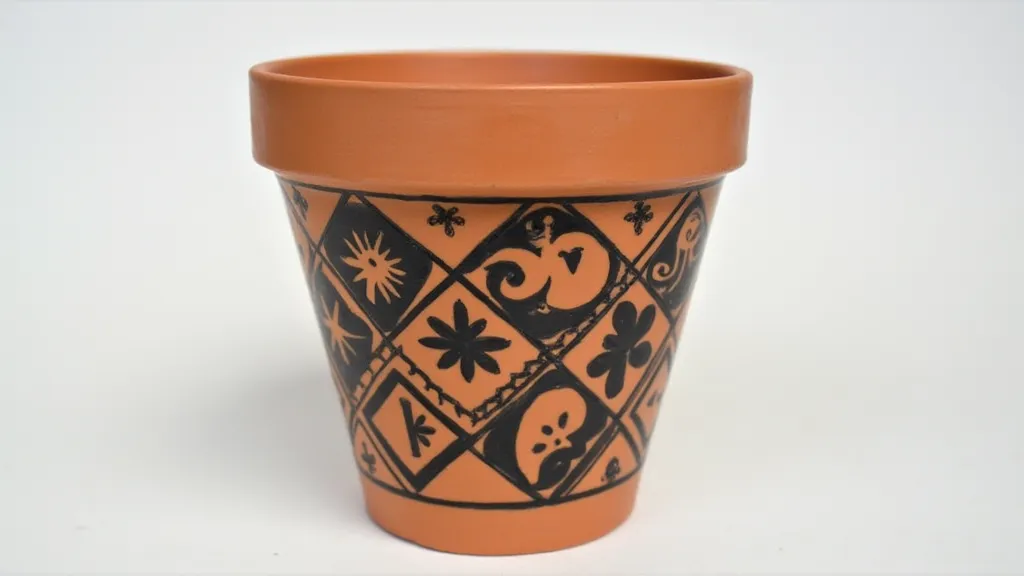
5. Geometric Patterns
Use masking tape to create triangles, diamonds, or other geometric shapes. Paint the exposed areas with different colors and carefully remove the tape. This adds a graphic and contemporary look.
Sealing Your Masterpiece
Once your design is complete and the paint is completely dry, consider applying a clear sealer. This will protect the paint from scratches and fading, especially if the pots will be exposed to the elements. Two coats of sealer are usually recommended.
Tips for Success
- Thin Your Paints: Acrylic paints can be thick, so thinning them slightly with water makes them easier to apply and creates a smoother finish.
- Multiple Thin Coats: It's better to apply several thin coats of paint rather than one thick coat. This prevents drips and ensures even coverage.
- Let it Dry Completely: Patience is key! Allow each coat of paint and sealer to dry completely before proceeding to the next step.
- Embrace Imperfection: DIY projects are all about personality and uniqueness! Don’t worry too much about making mistakes – they often add character.
Get Creative!
These are just a few ideas to get you started. Don’t be afraid to experiment with different colors, patterns, and techniques to create your own unique flower pot designs! Happy crafting!