Simple DIY Photo Display: Showcase Your Memories
Create a personalized photo display to showcase your favorite memories. This project is easy to customize and a great way to add a personal touch to your home.
Introduction
Do you have a collection of cherished photos that are gathering dust in a box? Or perhaps you’re looking for a unique and affordable way to decorate your living room or bedroom? This simple DIY photo display is the perfect solution! It's a fantastic project for beginners and can be tailored to suit your personal style and the size of your photo collection. We'll guide you through the steps, providing a clear material list and easy-to-follow instructions.
What You’ll Need
- Wood: A piece of reclaimed wood, a pallet board, or even a length of driftwood (approx. 24” x 12” is a good starting point - adjust to your desired size). Alternatively, you can use a pre-cut piece of wood from a craft store.
- Photos: Your favorite printed photos – any size and shape will work, but consider a consistent size for a neater look.
- Twine or Jute Rope: Approximately 6-8 feet, depending on how you want to hang your display.
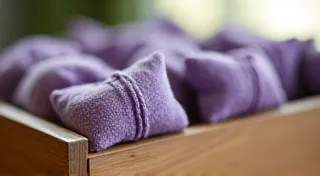
- Small Wooden Clothespins: Around 20-30, depending on the number of photos you're displaying. You can find these at craft stores.
- Scissors or Utility Knife
- Sandpaper (optional): If using reclaimed wood, sanding will smooth out any rough edges.
- Paint or Stain (optional): To customize the look of your wooden base.
Step-by-Step Instructions
- Prepare the Wood (Optional): If you're using reclaimed wood or a pallet, sand it smooth. This step is optional, but it creates a more polished look and removes splinters. If desired, paint or stain the wood to match your decor. Let it dry completely.
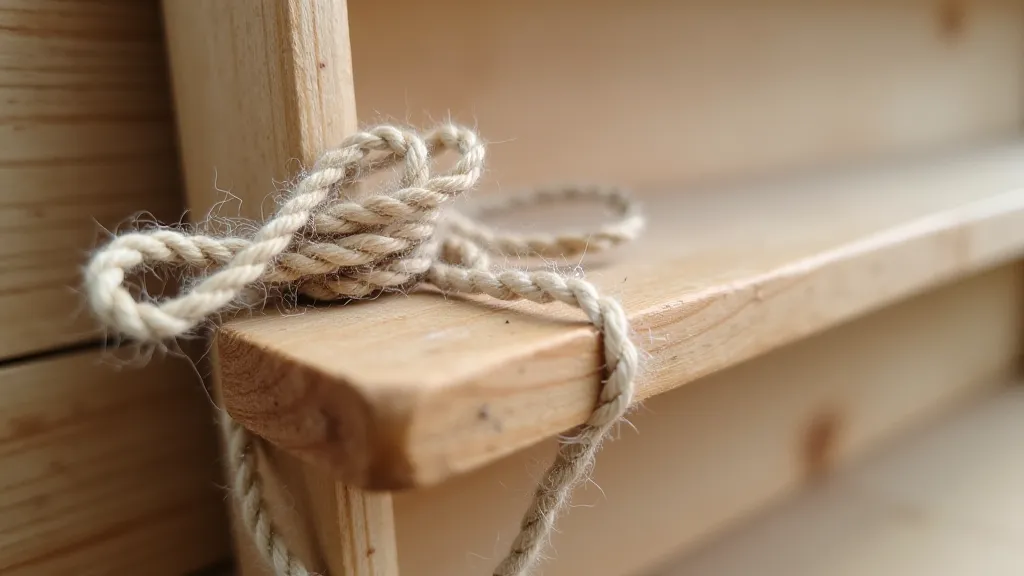
- Attach the Twine: Cut two lengths of twine or jute rope, approximately 12 inches each. Securely tie one end of each rope to each end of the wood. Ensure the knots are tight and won’t slip. This creates your hanging mechanism.
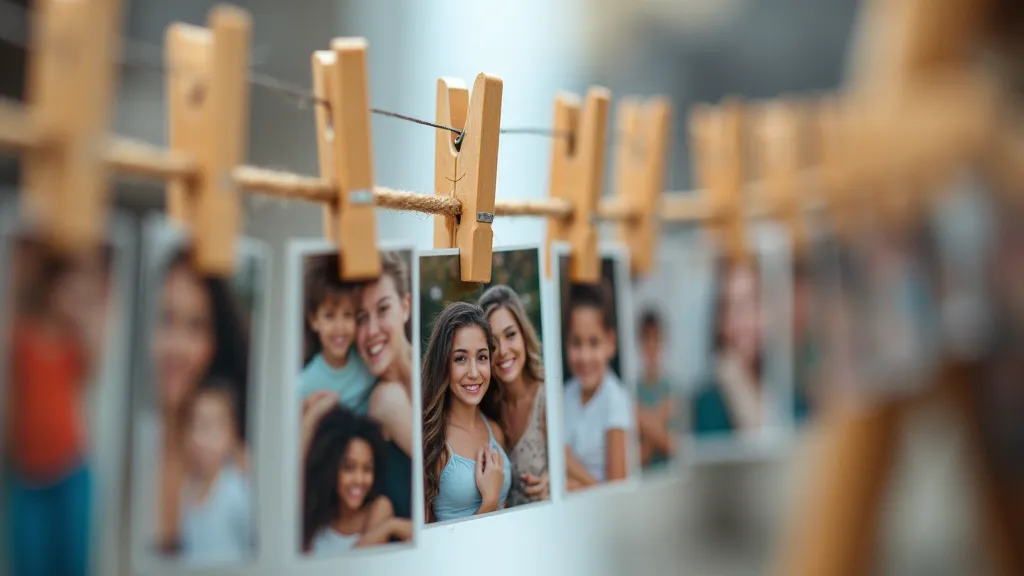
- Hang Your Photos: Use the wooden clothespins to attach your photos to the twine. You can arrange them in any order you like – chronologically, by theme, or simply by color! Experiment with different layouts until you find one you love.
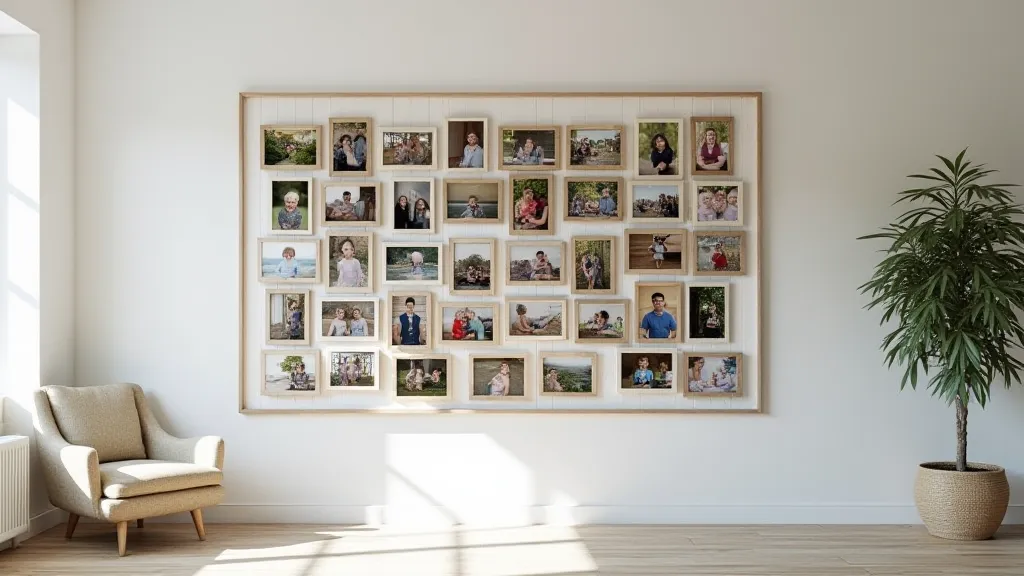
- Adjust and Admire: Once all your photos are attached, step back and admire your handiwork! Make any final adjustments to the spacing or arrangement of the photos.
Tips and Customization Ideas
- Vary Photo Sizes: Mix and match different sizes of photos for a more dynamic look.
- Add Embellishments: Glue on small wooden shapes, buttons, or other embellishments to personalize your display.
- Theme It: Create a themed display, such as a vacation photo display or a family history board.
- Use Different Hanging Methods: Instead of twine, try using ribbon, fairy lights, or metal wire.
- Vertical Display: Hang the twine vertically instead of horizontally for a different aesthetic.
Conclusion
This simple DIY photo display is a wonderful way to celebrate your favorite memories and add a personal touch to your home. It’s a project that's both easy to make and incredibly rewarding. Happy crafting!