DIY Storage Baskets: Organize Your Space with Style
Feeling overwhelmed by clutter? Tired of tripping over toys or losing track of your craft supplies? Then it's time to embrace the joy of organization with these charming DIY storage baskets! These aren't your average, boring bins – we’ve gathered a collection of techniques to create functional and beautiful storage that adds personality and style to any room.
Why DIY Storage Baskets?
Beyond the practical benefits of organization, crafting your own storage baskets offers a fantastic creative outlet. It’s a great way to use up fabric scraps, leftover yarn, or even recycled paper. Plus, a handmade touch adds warmth and character to your home that store-bought items simply can't match.
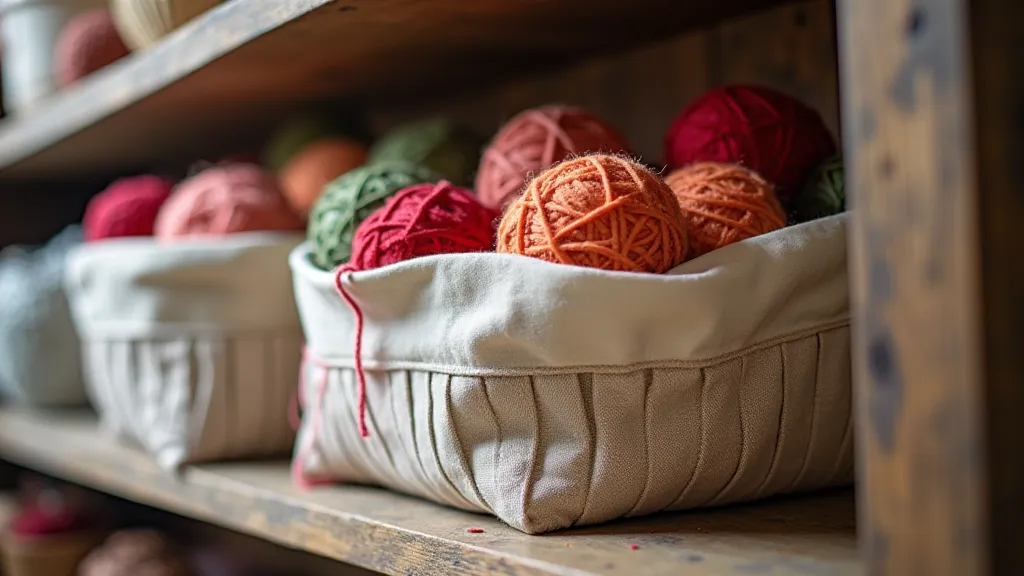
Project 1: Fabric Scrap Baskets (Beginner-Friendly!)
This is a fantastic project for using up those fabric remnants you've been hoarding! You can create baskets in various sizes and shapes, tailoring them to your specific storage needs.
Materials You’ll Need:
- Fabric scraps (cotton, felt, denim - anything works!)
- Scissors
- Needle and thread (or a sewing machine)
- Strong thread (like buttonhole thread)
- Cardboard (for the base – optional but recommended for stability)
Step-by-Step Instructions:
- Cut Fabric: Cut several (at least four) rectangular pieces of fabric. The size will determine the size of your basket. For a small basket, start with 8" x 12" pieces.
- Sew the Sides: With right sides together, sew the fabric pieces together along their long edges to form a tube.
- Form the Base: Fold the tube into a rectangular shape. Sew the bottom corners to create the base of the basket.
- Reinforce the Edges: Fold the top edge of the basket down and sew to create a clean finish.
- Add a Base (Optional): Cut a circle of cardboard slightly smaller than the base of the basket. Insert it into the basket for extra stability.
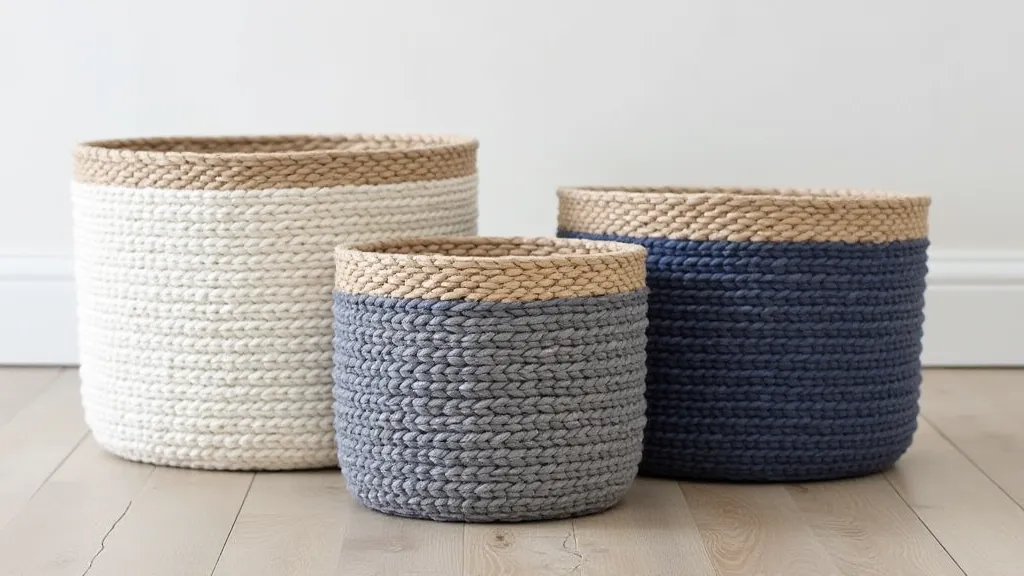
Project 2: Yarn Wrapped Baskets (A Little More Advanced)
This method uses a sturdy base (like a plastic container or cardboard) and wraps it with yarn to create a textured and stylish basket. This method is great if you are looking to use up scrap yarn!
Materials You’ll Need:
- Plastic container or cardboard base (round, square, or any shape you like)
- Yarn (any color and texture)
- Hot glue gun and glue sticks
- Scissors
Step-by-Step Instructions:
- Prepare the Base: Make sure your base is clean and dry.
- Start Wrapping: Apply a dab of hot glue to the base and begin wrapping the yarn tightly around it.
- Continue Wrapping: Continue applying glue and wrapping the yarn until the entire base is covered.
- Finish the Edges: Tidy up the edges of the yarn, trimming any loose strands.
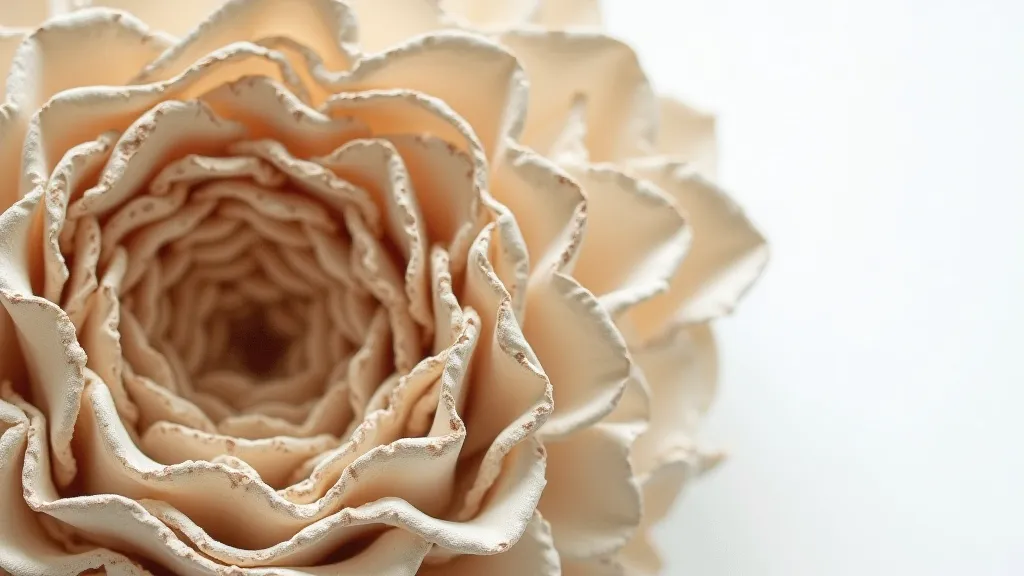
Project 3: Paper Coil Baskets (Unique & Recycled!)
For a truly unique and eco-friendly option, try making baskets from paper! Newspaper, magazines, or even old book pages can be transformed into sturdy and surprisingly attractive storage solutions.
Materials You’ll Need:
- Newspaper or magazine pages
- Glue stick
- Scissors
- Hot glue gun and glue sticks
Step-by-Step Instructions:
- Roll the Paper: Roll each sheet of paper tightly to form a long, thin coil. Secure the end with glue.
- Form the Base: Start gluing the coils together in a circular shape to create the base of the basket.
- Build the Walls: Continue adding coils to build the walls of the basket, gluing them together as you go. You can create different shapes and sizes by varying the angle at which you attach the coils.
- Reinforce & Finish: Glue the bottom and sides for reinforcement.
Get Creative!
These are just a few ideas to get you started. Don't be afraid to experiment with different materials, colors, and techniques. The beauty of DIY is that it’s all about expressing your creativity and making something truly unique for your home. Happy crafting!