DIY Rustic Wooden Signs: Add Charm to Your Home
Add a touch of warmth and personality to your home with these easy-to-follow instructions for creating your own rustic wooden signs! Whether you’re looking to welcome guests, display a favorite quote, or simply add a cozy vibe to your space, DIY wooden signs are a fantastic way to personalize your décor. This project is perfect for beginners and requires minimal tools and materials.
What You'll Need
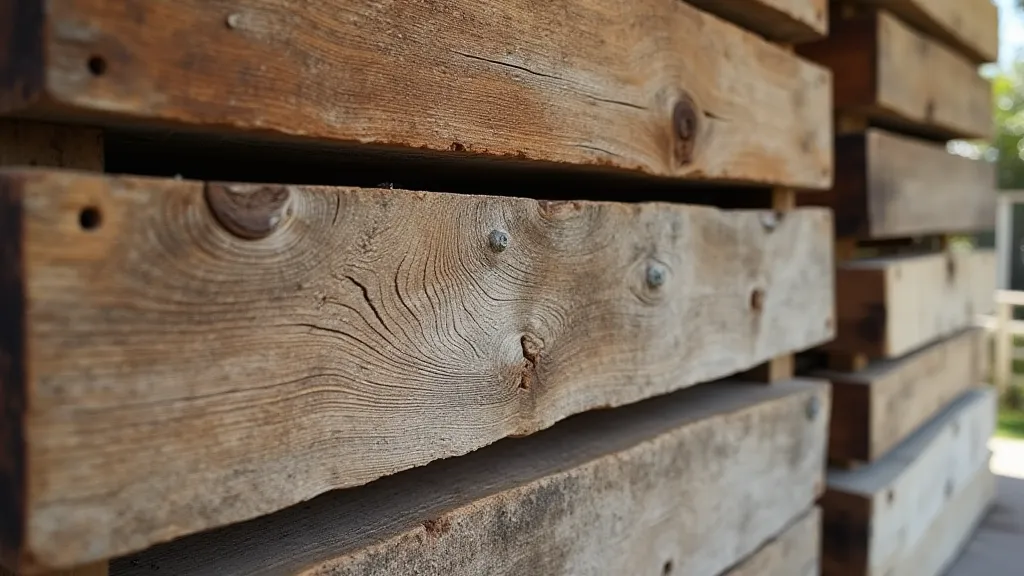
- Wood: Reclaimed wood is ideal for a truly rustic look. Pallet wood, fence posts, or even a large piece of pine work well. Aim for a thickness of at least ½ inch. Size depends on your desired sign size.
- Saw: A hand saw or circular saw to cut the wood to size.
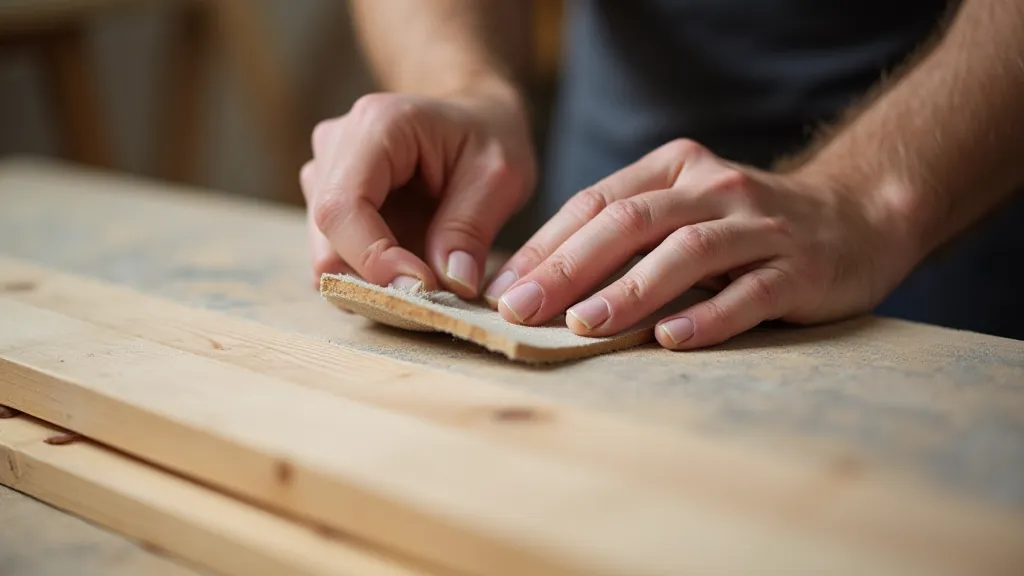
- Sandpaper: Various grits (80, 120, 220) to smooth the wood.
- Pencil & Ruler: For marking and measuring.
- Paint or Stain: Choose a color that complements your home décor.
- Paintbrushes or Rags: For applying paint or stain.
- Optional: Stencils or Transfer Paper: If you're using a design.
- Sealer (Polyurethane or Varnish): To protect the finished sign.
Step-by-Step Instructions
- Prepare the Wood: Clean the wood thoroughly, removing any dirt, debris, or loose pieces.
- Cut to Size: Using your saw, cut the wood to the desired dimensions for your sign.
- Sand the Wood: Start with a coarser grit sandpaper (80) to remove any rough edges. Progress to 120 and finally 220 grit for a smooth finish. This is a crucial step for a professional-looking sign.
- Apply the Finish (Optional - Distressed Look): If you want a distressed look, apply a base coat of paint or stain. Let it dry completely. Then, lightly sand the edges and corners to reveal the wood underneath.
- Add Your Design: You can freehand paint a design, use stencils, or transfer a design using transfer paper. Consider using chalk paint for an easy-to-distress look. Practice your design on a scrap piece of wood first.
- Seal the Sign: Apply a coat or two of polyurethane or varnish to protect your design and enhance the wood's natural beauty. Let each coat dry completely before applying the next.
Creative Ideas & Personalization
- Welcome Signs: Greet guests with a warm and inviting welcome sign for your front porch.
- Quote Signs: Display your favorite inspirational quotes or sayings.
- Family Signs: Showcase your family name or a meaningful date.
- Hobby Signs: Reflect your passions, like "Coffee Lover" or "Gardening Enthusiast."
- Seasonal Signs: Create festive signs for holidays like Christmas, Easter, or Halloween.
Tips for Beginners
- Start Small: Begin with a smaller sign to gain confidence.
- Use Quality Materials: Investing in good quality wood and finishes will result in a longer-lasting sign.
- Don't Be Afraid to Experiment: Try different techniques and finishes to find what you like best.
- Embrace Imperfection: Rustic charm is all about embracing imperfections.

With a little creativity and effort, you can create beautiful and personalized rustic wooden signs that will add warmth and charm to your home. Happy crafting!