Easy DIY Pom-Pom Garland: Festive Decor for Any Occasion
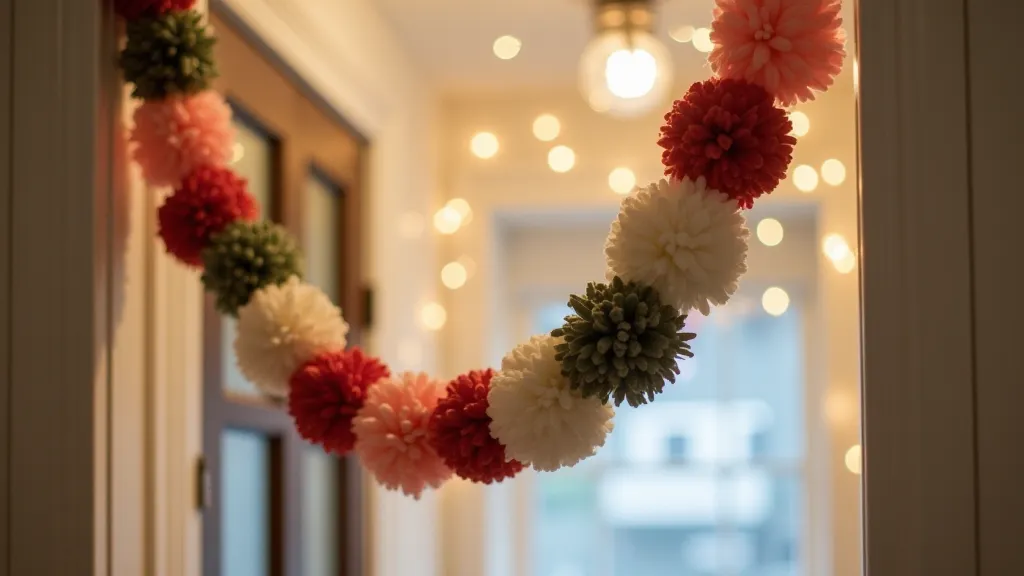
Add a burst of color and cheer to your home with this easy DIY pom-pom garland! It’s a simple craft project that’s perfect for beginners and adds a playful touch to any room. Whether you're decorating for a birthday party, holiday celebration, or just want to brighten up your everyday decor, this garland is a fantastic addition. Let's get crafting!
What You'll Need
- Yarn (any color or colors you like – wool, cotton, acrylic all work well!)
- Scissors
- Cardboard (for making a pom-pom tool – optional, but helpful!)
- Large needle or yarn needle
Making Your Pom-Poms (Two Methods!)
There are a couple of ways to make pom-poms. Here we’ll cover both, so you can choose the method that works best for you.
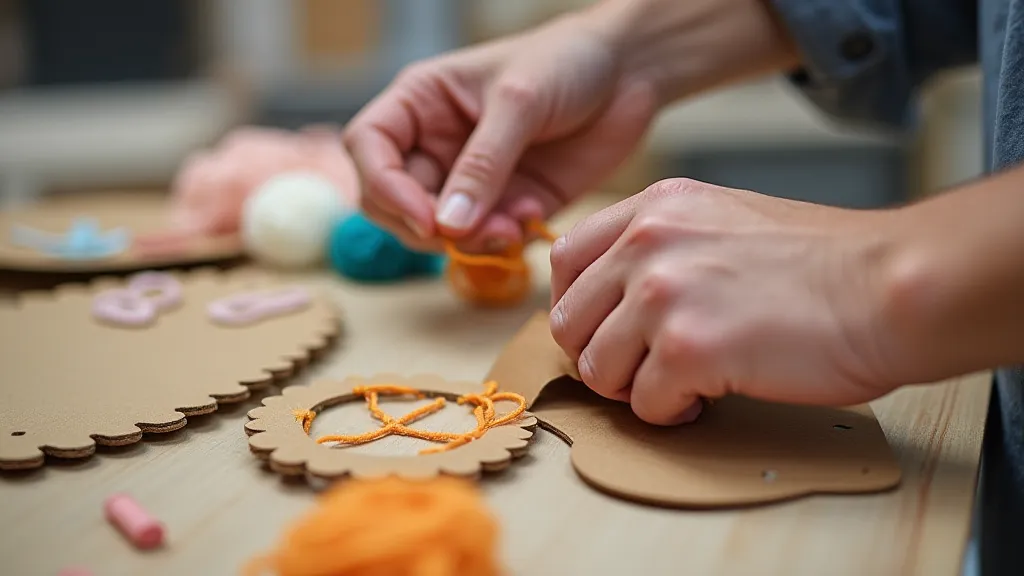
Method 1: The Cardboard Pom-Pom Tool
- Create the Tool: Cut two pieces of cardboard, each approximately 4-6 inches wide and 6-8 inches long. Mark the width in the middle. Cut a semi-circle from the center of each piece, creating a “U” shape. These will be your pom-pom tools.
- Wrap the Yarn: Place the two cardboard pieces together. Start wrapping yarn around them, repeatedly passing it through the "U" shape. The more you wrap, the denser and fuller your pom-pom will be.
- Cut the Yarn: Once you're satisfied with the thickness, carefully cut the yarn all the way around the pom-pom between the cardboard.
- Tie the Center: Slide the cardboard pieces apart slightly. Cut a long piece of yarn (about 12 inches). Tie this yarn *very* tightly around the center of the pom-pom, right where the cut yarn is clustered. This is crucial for keeping the pom-pom together! Double or triple knot it for extra security.
- Remove the Cardboard: Gently slide the cardboard pieces out.
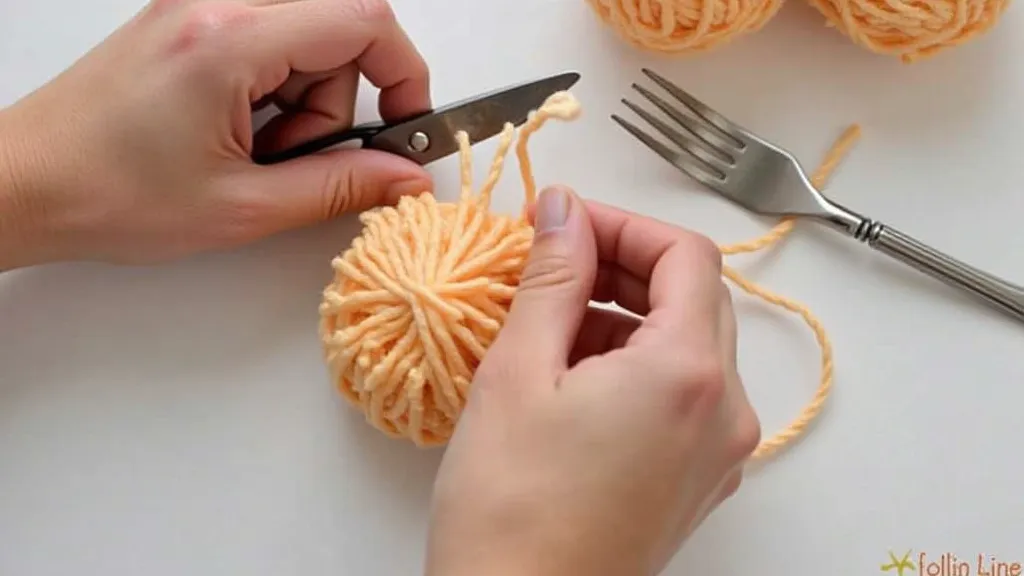
Method 2: The Fork Method (No Cardboard!)
- Wrap Around a Fork: Wrap the yarn around a dinner fork, repeatedly, until you have a nice, thick bundle. The more yarn you wrap, the larger and fuller your pom-pom will be.
- Slide off the Fork: Carefully slide the yarn bundle off the fork.
- Tie the Center: Cut a long piece of yarn (about 12 inches). Tie this yarn *very* tightly around the center of the yarn bundle. Double or triple knot it.
- Cut the Loops: Using scissors, cut through all the loops on both sides of the yarn bundle.
Assembling Your Garland
Now for the fun part – putting your garland together!
- Thread the Pom-Poms: Cut a long piece of yarn or twine – as long as you want your garland to be. Using a large needle or yarn needle, thread one pom-pom onto the yarn.
- Spacing: Space the pom-poms as desired. You can have them close together for a dense look, or further apart for a more spaced-out feel.
- Secure the Ends: Once all your pom-poms are on the yarn, tie a loop at each end of the garland. This allows you to easily hang it.
Tips & Tricks
- Mix Colors: Don’t be afraid to experiment with different colors and textures of yarn!
- Size Matters: Different sized pom-poms add visual interest.
- Secure Knots: Make sure your center knots are *very* secure – these are what hold the pom-pom together.
Enjoy your beautiful, handmade pom-pom garland! It’s a simple project that brings a lot of joy and a touch of handmade charm to any space.