DIY Painted Rocks: Cute Garden Decorations
Transform ordinary rocks into charming garden decorations with paint and creativity. A fun and easy project for kids and adults alike!
What You'll Need
- Smooth rocks (various sizes)
- Acrylic paints (various colors)
- Paintbrushes (various sizes)
- Clear sealant (optional, for outdoor durability)
- Newspaper or drop cloth (to protect your workspace)
- Water container (for rinsing brushes)
Step-by-Step Tutorial
This project is wonderfully simple! Here's how to create your own painted rock garden decorations.
- Gather Your Rocks: Find smooth rocks of different sizes and shapes. River rocks or stones from your garden work wonderfully. Make sure they are clean and dry before you begin.
- Prepare Your Workspace: Cover your work surface with newspaper or a drop cloth to prevent paint spills.
- Base Coat (Optional): You can choose to paint a base coat on your rocks. A light color like white or cream can help your designs pop. Let the base coat dry completely before moving on.
- Get Creative with Designs: This is the fun part! You can paint anything you like:
- Animals: Ladybugs, bees, owls, foxes – the possibilities are endless!
- Flowers and Leaves: Create colorful blooms and leafy designs.
- Geometric Patterns: Use stripes, dots, or swirls for a modern look.
- Cute Faces: Give your rocks personalities with fun, expressive faces.
- Let the Paint Dry: Allow the paint to dry completely between coats and designs. This will prevent smudging and ensure a clean finish.
- Seal Your Creations (Optional): If you plan to place your painted rocks outdoors, sealing them with a clear sealant will protect them from the elements and prolong their lifespan. Follow the sealant manufacturer's instructions.
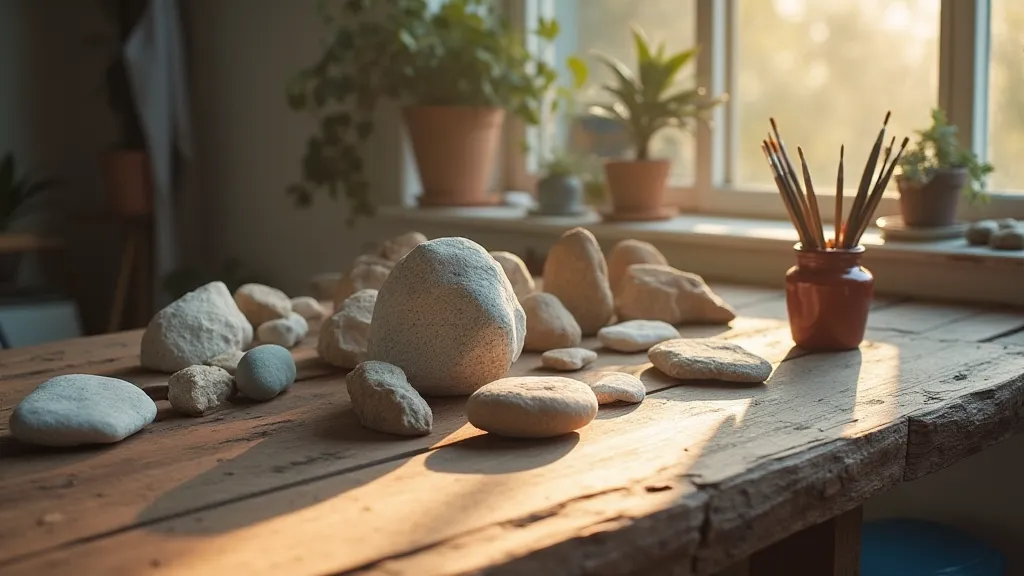
Image 1: A collection of various-sized smooth rocks, some partially painted with vibrant colors. These rocks are arranged on a wooden table with a few paintbrushes and a small pot of water nearby.
Tips & Tricks
- For Beginners: Start with simple designs. Dots, stripes, and basic shapes are easy to master.
- Kid-Friendly: This is a great project for kids! Let them unleash their creativity and paint whatever they like.
- Rock Selection: The flatter the rock, the easier it will be to paint.
- Paint Application: Apply thin coats of paint and allow them to dry completely between coats. This will prevent the paint from cracking.
- Sealing is Key for Outdoors: If your rocks will be exposed to the elements, sealing them is essential to prevent the paint from fading and peeling.
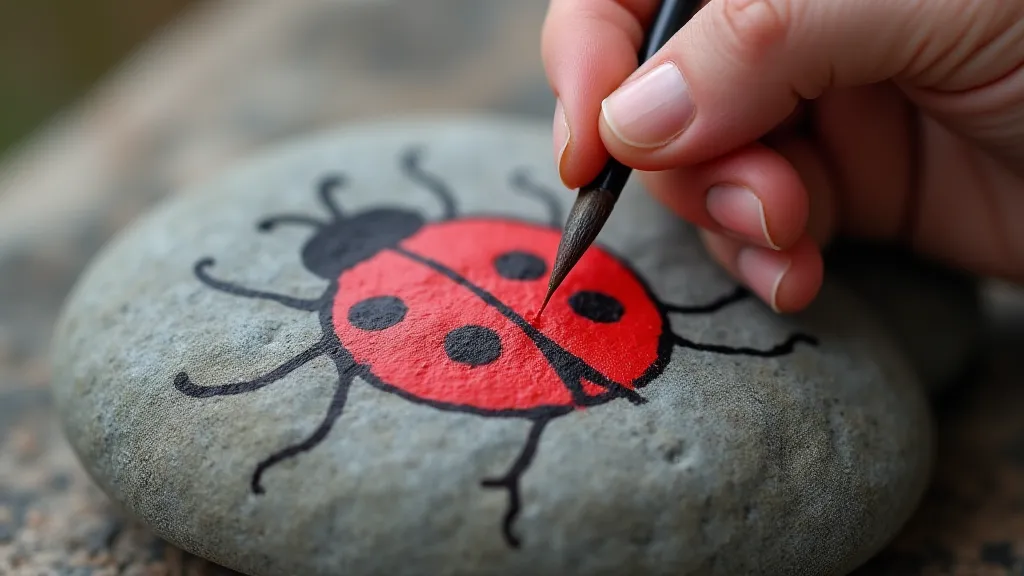
Image 2: Close-up shot of a hand carefully painting a ladybug design onto a gray rock using a small paintbrush and red acrylic paint. Focus is on the details of the ladybug's spots.
Displaying Your Painted Rocks
Once your painted rocks are dry and sealed (if desired), you can display them in a variety of ways:
- Garden Beds: Scatter them among your flowers and plants.
- Pathways: Line them along garden paths for a whimsical touch.
- Potted Plants: Place them in pots to add personality to your container gardens.
- Indoor Decor: Use them as decorative accents indoors.
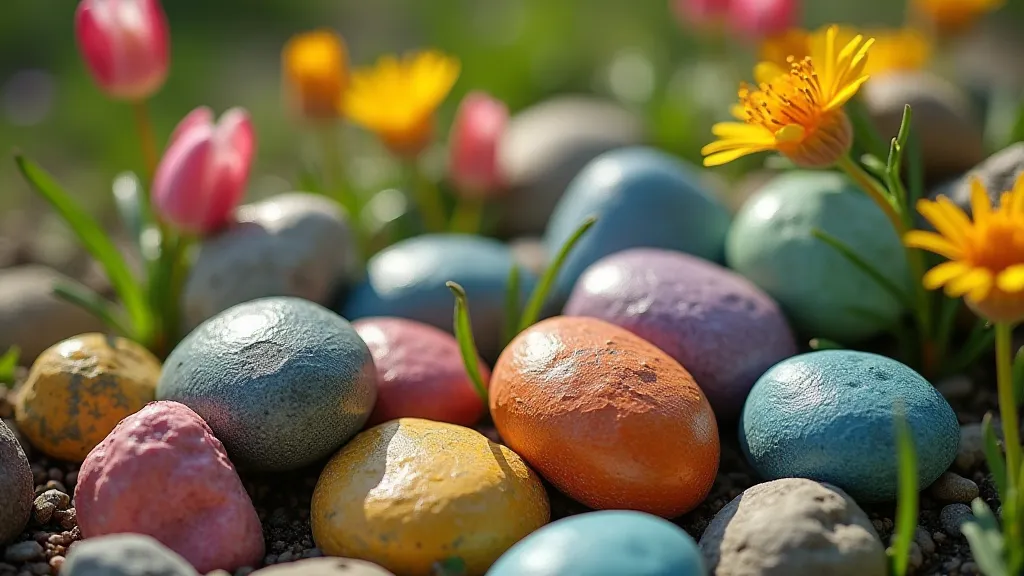
Image 3: A beautifully arranged garden bed featuring various painted rocks scattered among blooming flowers. The rocks are depicting different animal faces and floral patterns, creating a whimsical and charming garden scene. Soft, diffused sunlight illuminates the scene.
Have fun transforming ordinary rocks into beautiful and personalized garden decorations! We hope this DIY project inspires your creativity and adds a touch of charm to your outdoor space.