Upcycled Denim Coasters: A Beginner-Friendly DIY Project
Give your old jeans a new life with these adorable upcycled denim coasters! This easy-to-follow tutorial guides you through the process of transforming discarded denim into stylish and functional home accents. Perfect for beginners, this project requires minimal materials and is a fantastic way to reduce waste while adding a unique touch to your home decor.
What You'll Need: Material List
- Old denim jeans (at least one pair)
- Scissors or rotary cutter
- Ruler or measuring tape
- Fabric glue or sewing machine (optional)
- Cork squares or felt circles (slightly smaller than your desired coaster size)
Step-by-Step Instructions
Let's dive into the fun part – turning those old jeans into charming coasters! This project is simple enough for anyone to tackle, even if you’re new to DIY.
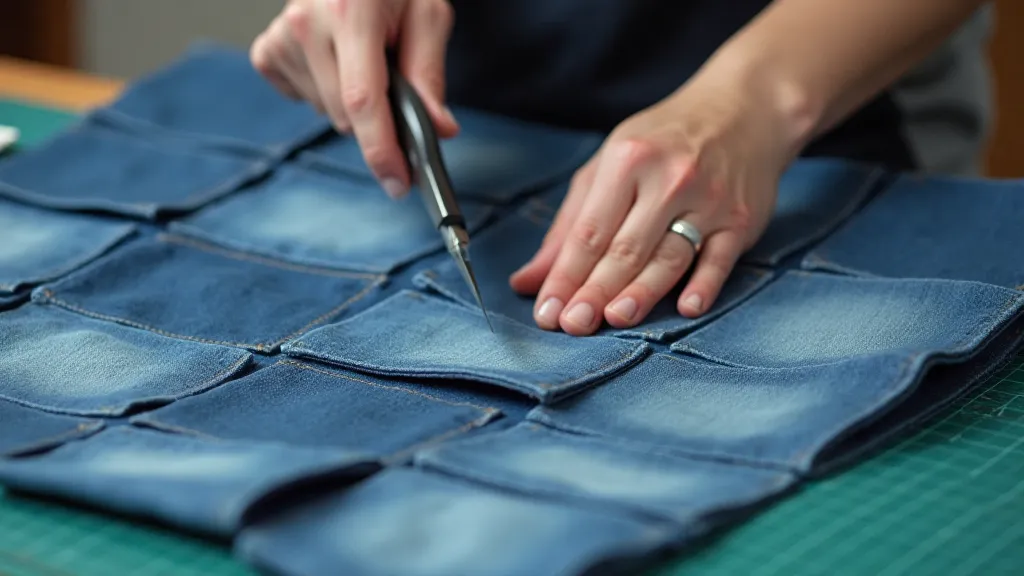
Step 1: Cutting the Denim
First, you need to cut the denim into squares or circles. A square shape is easiest for beginners. I recommend starting with 4-inch squares. Use your ruler and scissors (or rotary cutter) to precisely cut out your denim pieces. The more precise you are, the more professional your finished coasters will look. Cut out at least 8 pieces - more if you're making them for the whole family!
Step 2: Assembling the Coaster Layers
Now, let's layer the denim. This creates a thicker, more absorbent coaster. Take two denim squares and apply a thin layer of fabric glue to one side of one square. Carefully place the second denim square on top, aligning the edges.
Repeat this process until you have layered all your denim pieces for each coaster. For added durability, you can sew the layers together using a simple straight stitch on your sewing machine. This is an optional step, but it will make your coasters last longer.
Step 3: Adding the Base
To prevent your coasters from scratching your furniture, we're going to add a base. Cut out cork squares or felt circles that are slightly smaller than your denim coasters. Apply fabric glue to the bottom of the denim coaster and carefully center the cork or felt circle. Press firmly and allow the glue to dry completely.
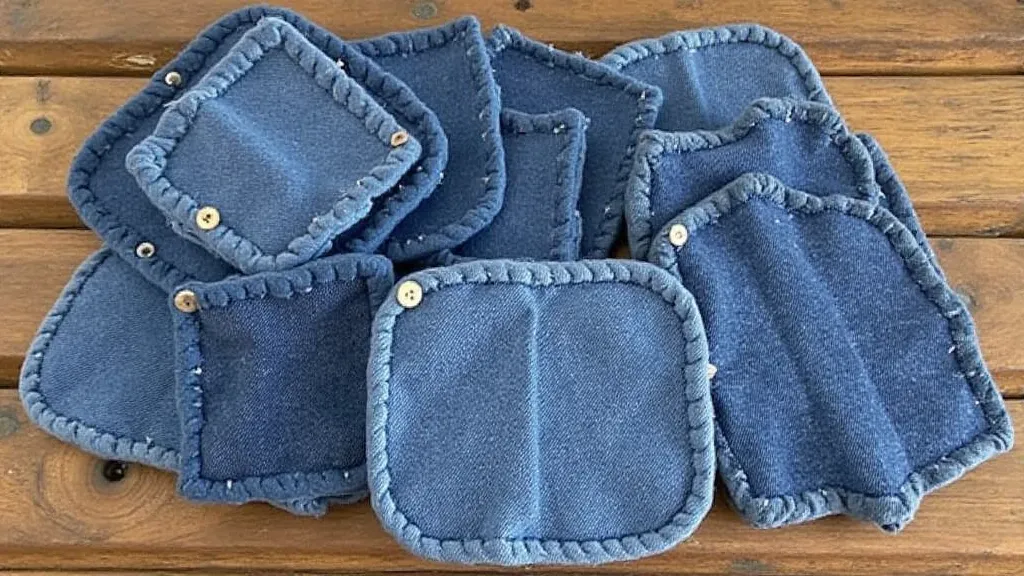
Step 4: Finishing Touches (Optional)
Get creative! You can add a few finishing touches to personalize your coasters. Consider:
- Stitching a simple border: A running stitch or blanket stitch around the edge adds a decorative touch.
- Adding a small embellishment: A button, a piece of embroidery, or a small patch can add personality.
- Distressing the edges: A little distressing can give your coasters a rustic, vintage look.
Tips for Beginners
- Don't be afraid to experiment! There’s no right or wrong way to do this project.
- Use sturdy denim: Thicker denim will make more durable coasters.
- Press your finished coasters: This will help them lay flat.
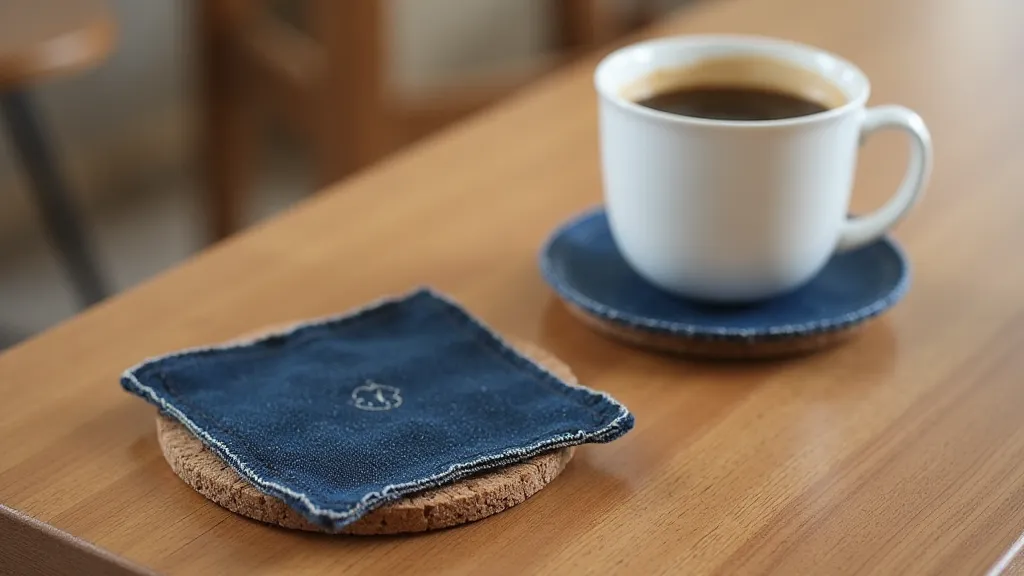
Enjoy Your Handmade Coasters!
Now you have a set of unique and eco-friendly coasters – perfect for protecting your furniture and adding a touch of handmade charm to your home!